Hi Everyone! <----- Annabel
We recently did a Paintfusion workshop with Helen and I purchased some of the lovely Paintfusion outline stamps by Sheena Douglass.
I loved using them with paints but also thought they would be fun to do with pastels on kraft card. I've admired the effect several time in craft mags and fancied a go!
Here is what I did, I hope it inspires you and I would love to see what you make with it! :)
So I started with the Poppies Stamp Set and a 15cmx15cm kraft card blank and envelope.
 Using white pigment ink I stamped the flowers and leaves on to the card blank not caring much about over lapping but trying to make sure everything would be covered up when I started to fill in the images.
 Once the images were stamped it was all looking a bit complicated so I carefully traced around my flowers in red pastel so they were picked out from the line mess. Then I was able to work out which bits remaining were leaves. I added in any stalks that were missing at this point too. It was now clear what was what! :)
Poppies are darker coloured at the centre of the flower and lighter as they fan out - this picture shows the stages I went through. The bottom left flower shows the outline and dark centre part. Bottom right flower is
 blending in the red with a more orangey hue. Then to the central flower I added dark areas with burgundy/brown and at the edges white for highlights. It is easy to blend colours using your white pastel, your finger, or a blending tool. It might be worth practicing a bit of blending first on scrap card.
At this stage everything had a base colour and basic shading but no detail at all. You can still see tiny bits of the original stamping but most of it is completely hidden.
Some of the leaves needed more details picked out using darker green and white for highlights. I darkened the centre of my flowers with dark brown and added some wisps around the area where the seed head part would go.
 Paintfusion isn't very detailed by nature ( part of its charm!) but with the pencil pastels I could more easily create more definition. I found some nice images online to use as reference material and then added black and green to form the centre of each flower.
I also added hairs to the stems of the flowers using fine strokes of white pastel.
Once the image was coloured in I used a normal pencil eraser to clean off any smudges or marks I'd made.
I also used a cheap can of hairspray to set the pastel so it would stay put!
 After printing a greeting on the computer and adding a few gems - Finished Card!
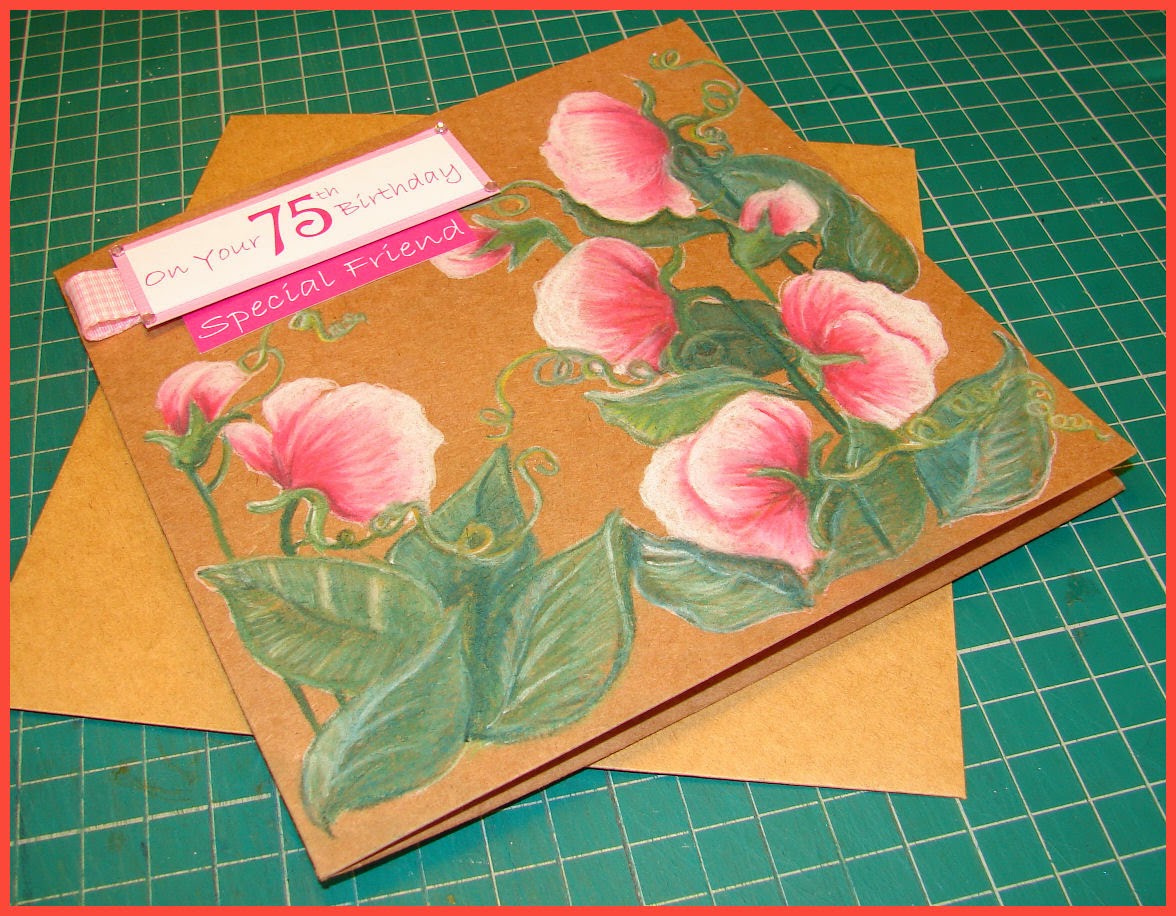
I thought I would include the Sweet Pea version I also tried using the same techniques.
I hope you fancy a go now too? :) Let me know how you get on, and ask any questions you might have along the way.


